Drupal中文社区
4.6 德国人写的主题教程(6)How to Make a Drupal Theme step by step (6)
http://www.drupaltutorials.de/2013/07/05/drupal-themes-teil-7/
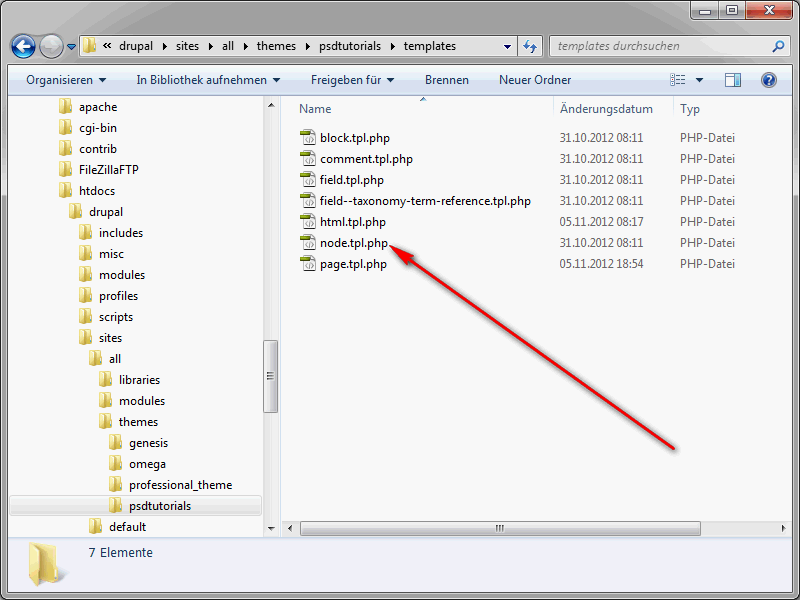
在这个系列的最后一节中,我将介绍另外的几个模板文件,它们也是你做主题的时候会经常遇到的。它们分别是node.tpl.php,field.tpl.php和block.tpl.php。最后还将介绍template.php,通过这个文件你可以定义主题函数。我将会通过一个例子来展示,如何在页面中添加一段可以检测当前IE浏览器版本,并根据条件判断结果来启用一个专门针对IE浏览器的样式表。
<div id="node-<?php print $node->nid; ?>" class="<?php print $classes; ?>"<?php print $attributes; ?>>

  <div class="node-inner clearfix">

    <?php print render($title_prefix); ?>

    <?php if ($teaser): ?>

      <h2 class="node-title"<?php print $title_attributes; ?>>

        <a href="<?php print $node_url; ?>" rel="bookmark"><?php print $title; ?></a>

      </h2>

    <?php endif; ?>

    <?php print render($title_suffix); ?>

    <?php print $user_picture; ?>

    <?php if ($display_submitted): ?>

      <div class="node-submitted">

        <?php print $submitted; ?>

      </div>

    <?php endif; ?>

    <div class="node-content"<?php print $content_attributes; ?>>

      <?php

        // Hide comments and links and render them later.

        hide($content['comments']);

        hide($content['links']);

        print render($content);

      ?>

    </div>

    <?php if ($content['links']): ?>

      <div class="node-links">

        <?php print render($content['links']); ?>

      </div>

    <?php endif; ?>

    <?php print render($content['comments']); ?>

  </div>

</div>
在node.tpl.php文件中有很多的PHP变量。比如,你可以用$user_picture变量来输出节点创建者的用户头像。在比如,你也可以非常轻易的用$name变量来输出节点创建者的名字。下面这样的语句是另一个有趣的函数(或者叫方法):
hide($content['comments']);
这个语句的作用是通过调用hide()方法来欺骗drupal_render(),让它以为括号内的东西已经被渲染过了。其实根本就没有执行渲染,也就是说并没有将$content['comments'] 转化为HTML代码。因此在渲染$content数组的时候就会直接忽略掉数组中的comments。(晴空注:这里之所以要将comments隐藏起来,是为了让它和内容出现在不同的Div中,这样就可以用不到的Css类名分别为他们设定样式。)
因此,当内容(除了Link和Comment)渲染完成后,又紧接着对刚才隐藏的元素进行了渲染:
<?php print render($content['comments']); ?>
这样做就可以对内容和评论以及链接分开进行渲染。
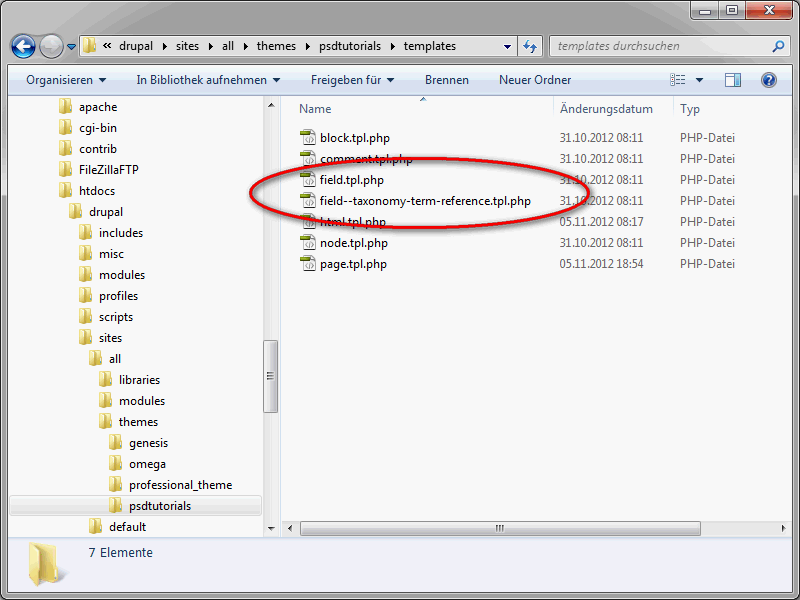
FIELD.TPL.PHP
负责渲染字段的模板文件是field.tpl.php,你可以在你拷贝到子主题中的templates文件夹中找到它。
<div class="<?php print $classes; ?>"<?php print $attributes; ?>>

  <?php if (!$label_hidden) : ?>

    <h3 class="field-label"<?php print $title_attributes; ?>><?php print $label ?>: </h3>

  <?php endif; ?>

  <?php foreach ($items as $delta => $item) : ?>

    <div class="field-item <?php print $delta % 2 ? 'odd' : 'even'; ?>"<?php print $item_attributes[$delta]; ?>><?php print render($item); ?></div>

  <?php endforeach; ?>

</div>
关于这个文件的详细信息你可以在官网的https://api.drupal.org/api/drupal/modules%21field%21theme%21field.tpl.php/7 页面找到。
<div id="block-<?php print $block->module . '-' . $block->delta; ?>" class="<?php print $classes; ?>"<?php print $attributes; ?>>

  <div class="block-inner">

    <?php print render($title_prefix); ?>

      <?php if ($title): ?>

        <h2 class="block-title"<?php print $title_attributes; ?>><?php print $title; ?></h2>

      <?php endif;?>

    <?php print render($title_suffix); ?>

    <div class="content"<?php print $content_attributes; ?>>

      <?php print $content ?>

    </div>

  </div>

</div>
这里最重要的变量显然是$content。通过这个变量可以输出区块的内容。如果你需要输出的是生成这个区块的模块,那么你应该使用变量$block->module。
TEMPLATE.PHP
在整个教程的结束部分,我们来看看template.php文件。在这个文件中你可以声明和定义你需要在主题中使用的变量和方法。如果你打开的新建的子主题中的这个文件,你会看到很多被注释了的方法。
/**

 * Override or insert variables into all templates.

 */

/* -- Delete this line if you want to use these functions

function genesis_SUBTHEME_preprocess(&$vars, $hook) {

}

function genesis_SUBTHEME_process(&$vars, $hook) {

}

// */
要使用其中的某个方法的话,你必须先将如下的语句整行删除
/* -- Delete this line if you want to use these functions同时你还需要修改方法名称。在Genesis子主题中,template.php文件中的方法名如下:
function genesis_SUBTHEME_process()你必须将此处的genesis_SUBTHEME修改成你自己建立的主题名字,在我们这个例子中是这样的: function psdtutorials_process() 我们使用一个例子来讲述如何使用这些方法。通过以下一系列的步骤,我们可以在页面中添加一段可以检测当前IE浏览器版本,并根据条件判断结果来启用一个专门针对IE浏览器的样式表,其代码如下:
/**

 * Override or insert variables into the html templates.

 */

/* -- Delete this line if you want to use these functions

function genesis_SUBTHEME_preprocess_html(&$vars) {

  // Uncomment the folowing line to add a conditional stylesheet for IE 7 or less.

  // drupal_add_css(path_to_theme() . '/css/ie/ie-lte-7.css', array('weight' => CSS_THEME, 'browsers' => array('IE' => 'lte IE 7', '!IE' => FALSE), 'preprocess' => FALSE));

}

function genesis_SUBTHEME_process_html(&$vars) {

}

// */
将上面的代码按照之前讲述的规则修改成如下所示:
function psdtutorials_preprocess_html(&$vars) {

  // Uncomment the folowing line to add a conditional stylesheet for IE 7 or less.

 drupal_add_css(path_to_theme() . '/css/ie/ie-lte-7.css', array('weight' => CSS_THEME, 'browsers' => array('IE' => 'lte IE 7', '!IE' => FALSE), 'preprocess' => FALSE));


}
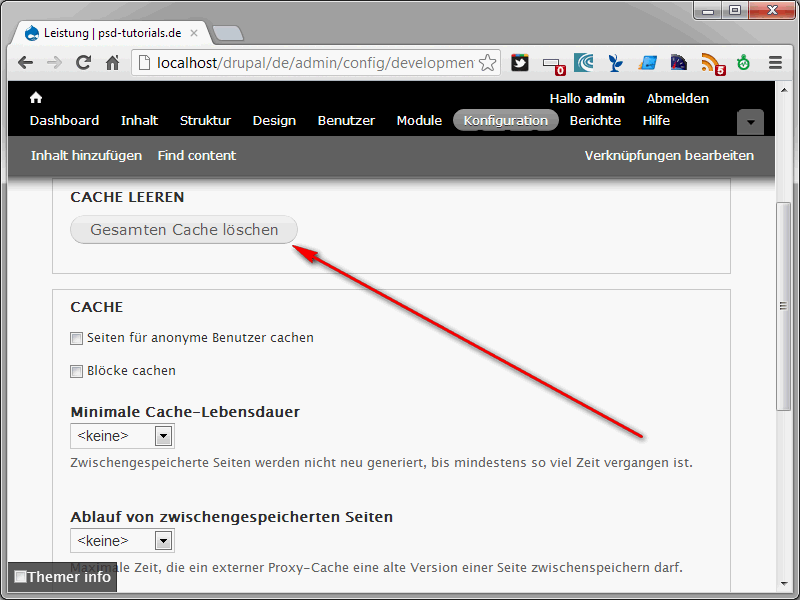
最后清空缓存。
<!--[if lte IE 7]>

<link type="text/css" rel="stylesheet" href="http://localhost/drupal/sites/all/themes/psdtutorials/css/ie/ie-lte-7.css?md2qg4" media="all" />

<![endif]-->
这段代码的意思是,IE7及其以下版本中启用代码中的css文件。
标签
Drupal 版本
对于我的个人了解drupal主题以及编写主题很有帮助
对于我的个人了解drupal主题以及编写主题很有帮助,谢谢楼主晴空的无私奉献。
不错不错!支持一下,很好的主题剖析教程
不错不错!支持一下,很好的主题剖析教程